
Hey there loyal readers! It's Andrea here with a technique to make paper pine cones using a 3D flower die. How did this all come about? I went on a walk yesterday afternoon, saw a cute little pine cone in my path and started thinking about how I could make a dimensional pine cone out of paper to adorn either Fall or Christmas gifts. I know of at least one very cool die out there that already makes 3D pine cones (thank you, Tim Holtz!), but I didn't have one. What I did have was a 3D flower die from Sizzix. So here's how I turned a 3D flower into the pine cone you see on this embellished tin:

Start by cutting out two identical 3D flower spirals from the die of your choice (Sizzix, Lifestyle Crafts, Cricut and Spellbinders all have these spiral-flower designs).

I used DCWV paper because it's sturdy and both sides are colored so you don't have to worry about a back and front. Next, roll the flowers into their 3D shape, starting from the outside in. Remember my earlier tip about using a quilling tool to do this! It makes life so much easier!

You now have two spiral flowers rolled. You are going to stick these together to form your pine cone.

Because you're going to stick one flower into the other, cut out the center of one of the flowers so that you'll have room to insert the other flower into it. The one that you cut will form the top of your pine cone.

Use hot glue or the adhesive of your choice to glue the two flowers together.

Once they're glued together, use needle-nose pliers to pull and elongate the bottom flower into a more narrow pine cone shape.
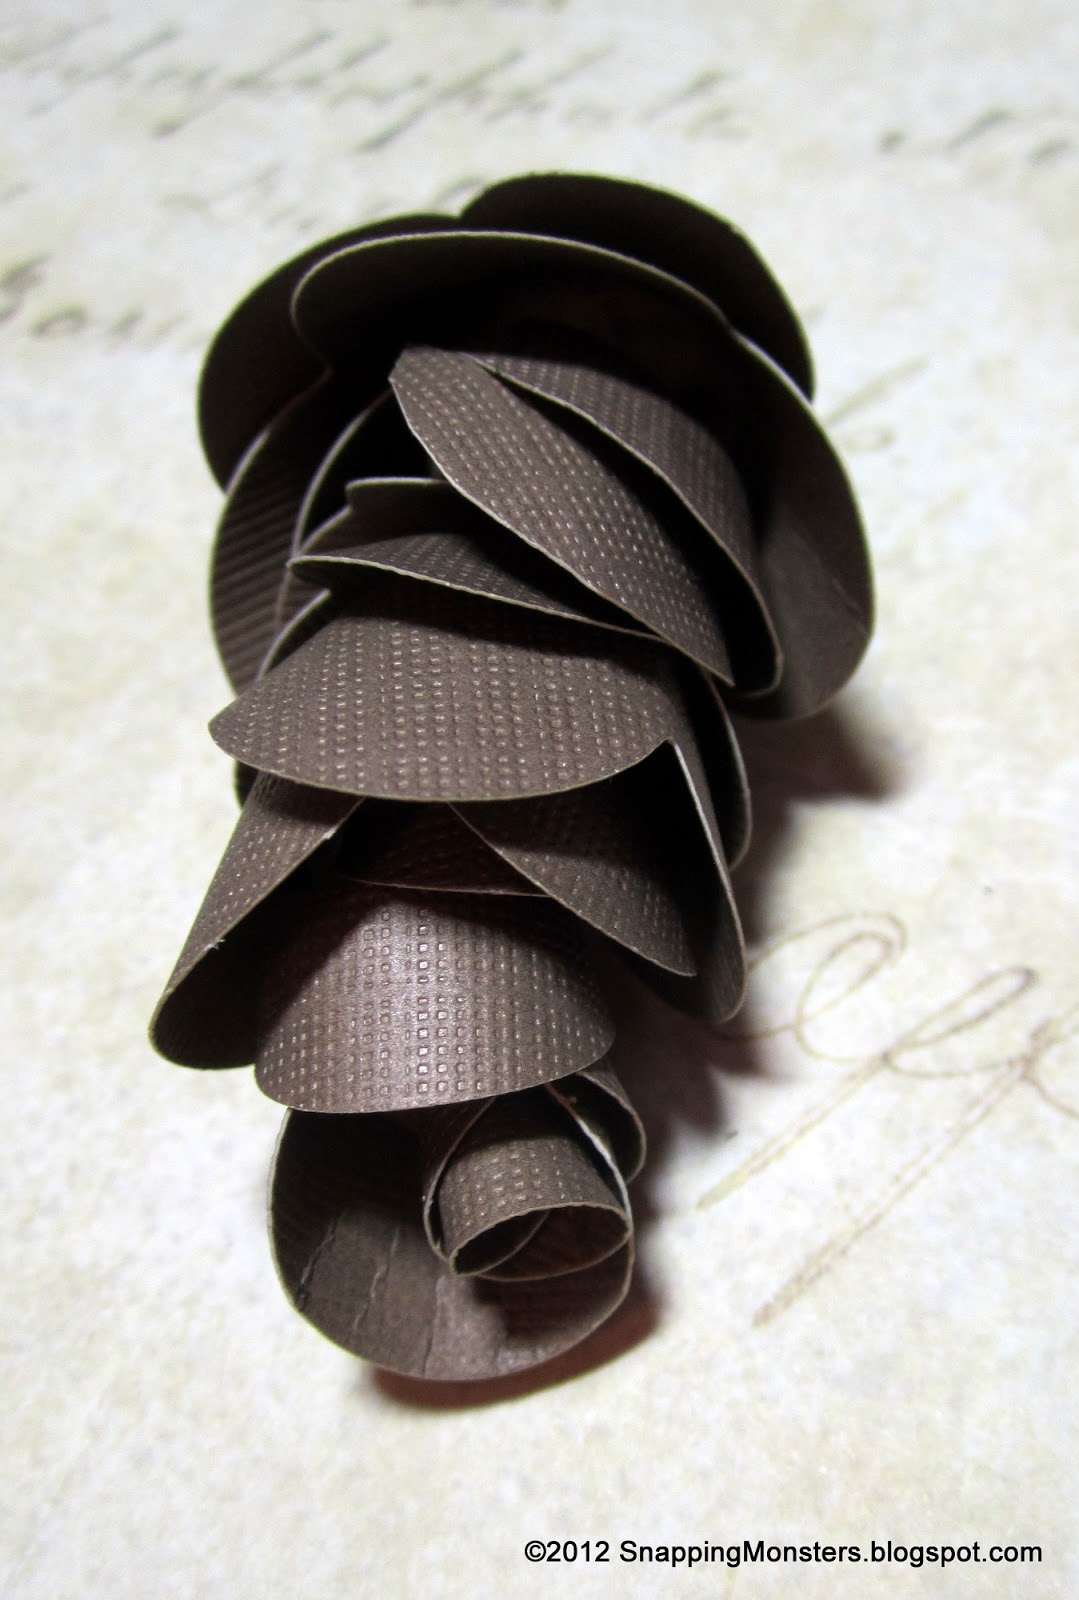
Wah-la! The last thing I did was to rub black ink across the pine cone (especially the edges) to give it a little more distinction and to blot out the white core of the paper.

So there you have it! An adorable pine cone just ready and waiting to be put on the perfect gift! For my little tin, I used paper from My Mind's Eye as the background and used fabric, tulle and lace to add accents at the top of the pine cone. I used alphabet stamps for the sentiment.
The great thing about pine cones is their versatility. You could add glitter to make it more festive or "frost" the edges with white for a winter look.
Thanks for stopping by and don't forget to check out my my blog for more holiday fun this season!


